Learn how to make delicious, probiotic-rich water kefir at home with this easy step-by-step guide, perfect for beginners.
Ready to ditch sugary sodas and embrace a healthier, fizzy alternative? Water kefir is a fantastic probiotic beverage that’s surprisingly simple to make at home. This guide will equip you with everything you need to start brewing your own bubbly kefir, from gathering your supplies to troubleshooting common issues. Let’s get started!
Table of Contents
Gathering Your Water Kefir Supplies
- Water Kefir Grains: These are the “starter” for your kefir. You can purchase dehydrated grains online or from health food stores. You’ll need to activate them before using; instructions usually come with the grains. You can also find activated grains online.
- Sugar: Use organic cane sugar, white sugar, or unprocessed sugar. Avoid sugar substitutes, as the kefir grains need this for food.
- Water: Use filtered or spring water. Avoid tap water due to chlorine and fluoride, which can harm the kefir grains.
- Jar: A quart-sized glass canning jar works perfectly.
- Thermometer: This is helpful for checking the water temperature.
- Cover: Use a tight-weave dish towel secured with a rubber band, or a coffee filter with a rubber band. Avoid airtight lids, as the kefir needs to breathe.
Making Your First Batch of Water Kefir
- Dissolve the Sugar: In your clean jar, combine ¼ cup of sugar with ½ cup of hot water. Swirl until the sugar is completely dissolved.
- Add Cool Water: Add 3 cups of cool or room temperature filtered water to the jar. Use your thermometer to check the temperature; it should be around 70-80°F (21-27°C). This temperature range is ideal for kefir grain activity.
- Introduce the Grains: Gently add your activated water kefir grains to the sugar-water mixture.
- Cover the Jar: Securely cover the jar with your chosen cover. This allows the kefir to breathe while keeping out dust and insects. A tight weave dish towel secured by a rubber band works well. A coffee filter held in place with a rubber band is another good option.
- Fermentation Time: Let the kefir culture at room temperature for 24-48 hours. The ideal temperature for fermentation is slightly above room temperature (around 75°F or 24°C). Find a spot away from direct sunlight.
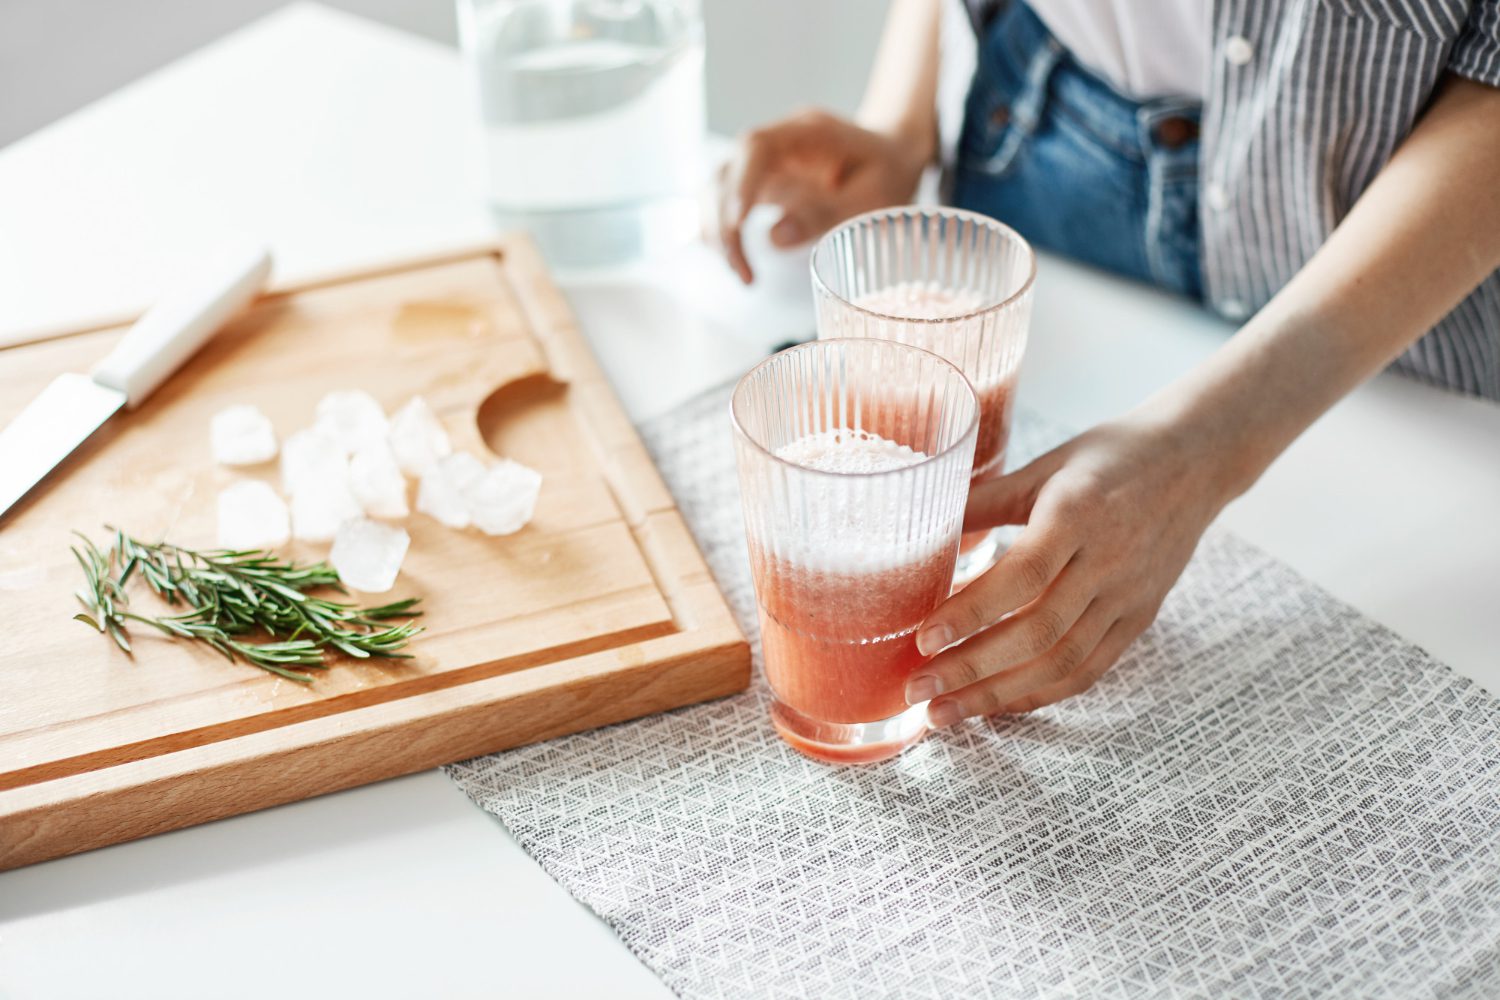
Straining and Bottling Your Water Kefir
- Strain the Grains: After 24-48 hours, gently strain the kefir through a fine-mesh plastic strainer, catching the kefir grains. Avoid using metal strainers as they can sometimes react with the kefir.
- Start a New Batch (Optional): Immediately place the strained kefir grains into a fresh batch of sugar water to keep them active and healthy. This ensures they’re ready for your next batch of kefir.
- Bottle for Second Ferment (Optional): For a fizzier kefir, transfer the strained kefir to airtight bottles. You can add fruit juice, pieces of fruit, or other flavorings at this stage. Leave a little headspace in the bottle for carbonation. Allow to ferment for another 24-48 hours at room temperature.
- Refrigerate: Once the desired level of fizziness is achieved, refrigerate the bottled kefir to slow down fermentation and enjoy your refreshing, bubbly drink!
Troubleshooting Your Water Kefir
- Flat Kefir: If your kefir isn’t fizzy, try a second ferment in airtight bottles with added fruit or juice. Ensure your grains are healthy and active. A warmer culturing temperature can also help.
- Slimy Kefir: This can sometimes happen but isn’t harmful. Try reducing the fermentation time or using less sugar.
- Mold Growth: Discard the batch if you see any mold. Ensure your jar and utensils are clean. Make sure your grains look healthy – they should be translucent and slightly rubbery.
- Slow Growth: Kefir grains can take time to adapt to a new environment. Continue making kefir regularly, and they will typically become more active over time. Consistent temperature and using the right kind of sugar also helps.
Enjoying and Storing Your Water Kefir
- Serving: Enjoy your water kefir chilled. It’s a refreshing and healthy alternative to soda.
- Flavoring: Experiment with different flavors by adding fruit, juice, herbs, or spices during the second ferment.
- Storage: Store your finished water kefir in the refrigerator for up to a week. The longer it sits, the more tart it may become.
- Grains maintenance: Make a new batch of water kefir every 24 to 48 hours to keep your grains healthy and active. This ensures they continue to thrive and produce high-quality kefir. If you need a break, you can store them in the refrigerator in sugar water for a short period, but it’s best to keep them actively culturing.
Making water kefir is a rewarding process. With a little practice, you’ll be brewing your own delicious, probiotic-rich beverages in no time! Don’t be afraid to experiment and find what works best for you. Happy brewing!
How to Make Water Kefir: A Simple Step-by-Step Guide
- What you’ll need:
- ½ cup Water Kefir Grains
- 2 cups Non-chlorinated Water (Spring or Filtered is best)
- ¼ cup Sugar (organic cane sugar, brown sugar, or coconut sugar)
- 1 Quart-Sized Glass Jar
- Plastic Strainer
- Dried Fruit (optional, for flavoring second ferment)
- Flip-top bottles or swing-top jars for second ferment
- Important Notes:
- Avoid metal utensils or containers, as they can harm the kefir grains.
- Use clean hands when handling the grains.
- Don’t store the grains in the refrigerator for extended periods.
- Step 1: First Ferment – Preparing the Kefir: Start by dissolving the sugar in the non-chlorinated water in your quart-sized jar. Ensure the sugar is fully dissolved before proceeding.
- Step 2: Adding the Grains: Gently add the water kefir grains to the sugar-water mixture.
- Step 3: Covering the Jar: Cover the jar with a breathable cover. A piece of cloth secured with a rubber band works well. Avoid airtight lids during the first ferment.
- Step 4: Fermentation Time: Allow the mixture to ferment at room temperature (ideally 68-85°F) for 24-48 hours. The time will vary depending on the temperature and the activity of your grains. Taste test after 24 hours. It should have a slightly sweet and tangy flavor when ready.
- Step 5: Straining the Kefir: Once the desired tanginess is achieved, strain the kefir through a plastic strainer into a clean jar. The kefir grains will be left in the strainer.
- Step 6: Second Ferment (Optional, for Flavor and Carbonation): Transfer the strained kefir to flip-top bottles or swing-top jars. Add dried fruit (like raisins, cranberries, or chopped dates) or other flavorings, like ginger or lemon slices, for a second ferment. Leave about an inch of headspace in the bottles.
- Step 7: Second Ferment Time: Seal the bottles tightly and leave them at room temperature for another 12-48 hours. This second fermentation will create carbonation and enhance the flavor. Burp the bottles every 12 hours, especially in warmer temperatures, to release excess pressure.
- Step 8: Refrigeration: Once the desired level of carbonation is reached, refrigerate the kefir to slow down fermentation and enjoy!
- Step 9: Starting the Next Batch: Repeat steps 1-5 with the strained kefir grains to create a continuous supply of water kefir.
Common Questions About How to Make Water Kefir
Q: What is water kefir?
Water kefir is a naturally fermented, probiotic-rich beverage made with water kefir grains. These grains aren’t actually grains but rather a symbiotic culture of bacteria and yeasts (SCOBY) that consume sugar and produce a slightly sweet, fizzy drink.
Q: What do I need to make water kefir?
You’ll need water kefir grains, sugar (cane sugar works well), non-chlorinated water, and a jar for fermentation. Dried fruits like raisins or figs can be added for flavor and to naturally feed the kefir grains.
Q: How do I make water kefir?
Dissolve sugar in water, add the kefir grains, and cover the jar. Let it ferment naturally at room temperature for 24-48 hours, then remove the grains and enjoy your first ferment.
Q: How do I know when my water kefir is ready?
The water kefir is ready when most of the sugar is consumed, creating a slightly tart and naturally fizzy beverage. Taste-testing is the best way to determine your preferred level of fermentation.
Q: What do I do with the grains after fermentation?
After the first ferment, simply remove the water kefir grains and start a new batch! They will naturally multiply over time, allowing you to share them with friends or make even more kefir.