Fermenting garlic is an easy and rewarding way to add a unique, tangy depth of flavor to your dishes. Plus, you get to enjoy the probiotic benefits! This comprehensive guide will walk you through the process, from choosing your ingredients to storing your finished fermented garlic.
Table of Contents
Gathering Your Supplies
- Fresh Garlic Bulbs: Choose firm bulbs with no signs of mold or sprouting. The amount will depend on the size of your jar. A heaping cup of peeled cloves typically fills a pint jar.
- Onion (Optional): A small piece of onion can help jumpstart the fermentation process.
- Fresh Herbs or Dried Spices (Optional): Get creative! Rosemary, dill, tarragon, thyme, or red pepper flakes are great choices. You can also enjoy plain fermented garlic.
- Salt: Use pure, non-iodized salt without anti-caking agents. These additives can inhibit fermentation. Look for salt with “salt” as the only ingredient.
- Water: Filtered or distilled water is best.
- Jar: A pint (500ml) glass jar works well for beginners.
- Fermenting Weight: Keeps the garlic submerged in the brine, preventing mold growth. A small glass weight designed for fermenting is ideal. Check out DIY options if you don’t have one.
- Lid: A regular lid is fine, just ensure it’s loosely fitted during fermentation. Specialty fermenting lids with airlocks are also an option.
- Small Dish or Plate: To catch any brine overflow during active fermentation.
- Kitchen Towel: To place under the jar during fermentation to absorb any spills.
Preparing the Garlic and Brine
- Peel the Garlic: Separate the cloves and remove the papery skins. Discard any moldy cloves. Imperfect cloves are fine, just cut off any blemishes.
- Prepare the Onion (Optional): Slice the onion into medium-thick pieces.
- Prepare Herbs/Spices (Optional): Chop fresh herbs. Measure out dried spices.
- Make the Brine: For a pint jar, dissolve ¾ tablespoon (15g) of fine salt in 1 cup (250ml) of water. Stir until fully dissolved.
The brine is crucial for creating the right environment for fermentation. It inhibits harmful bacteria while allowing beneficial lactobacillus bacteria to thrive. This creates the characteristic tangy flavor and preserves the garlic.
Packing the Jar and Fermenting
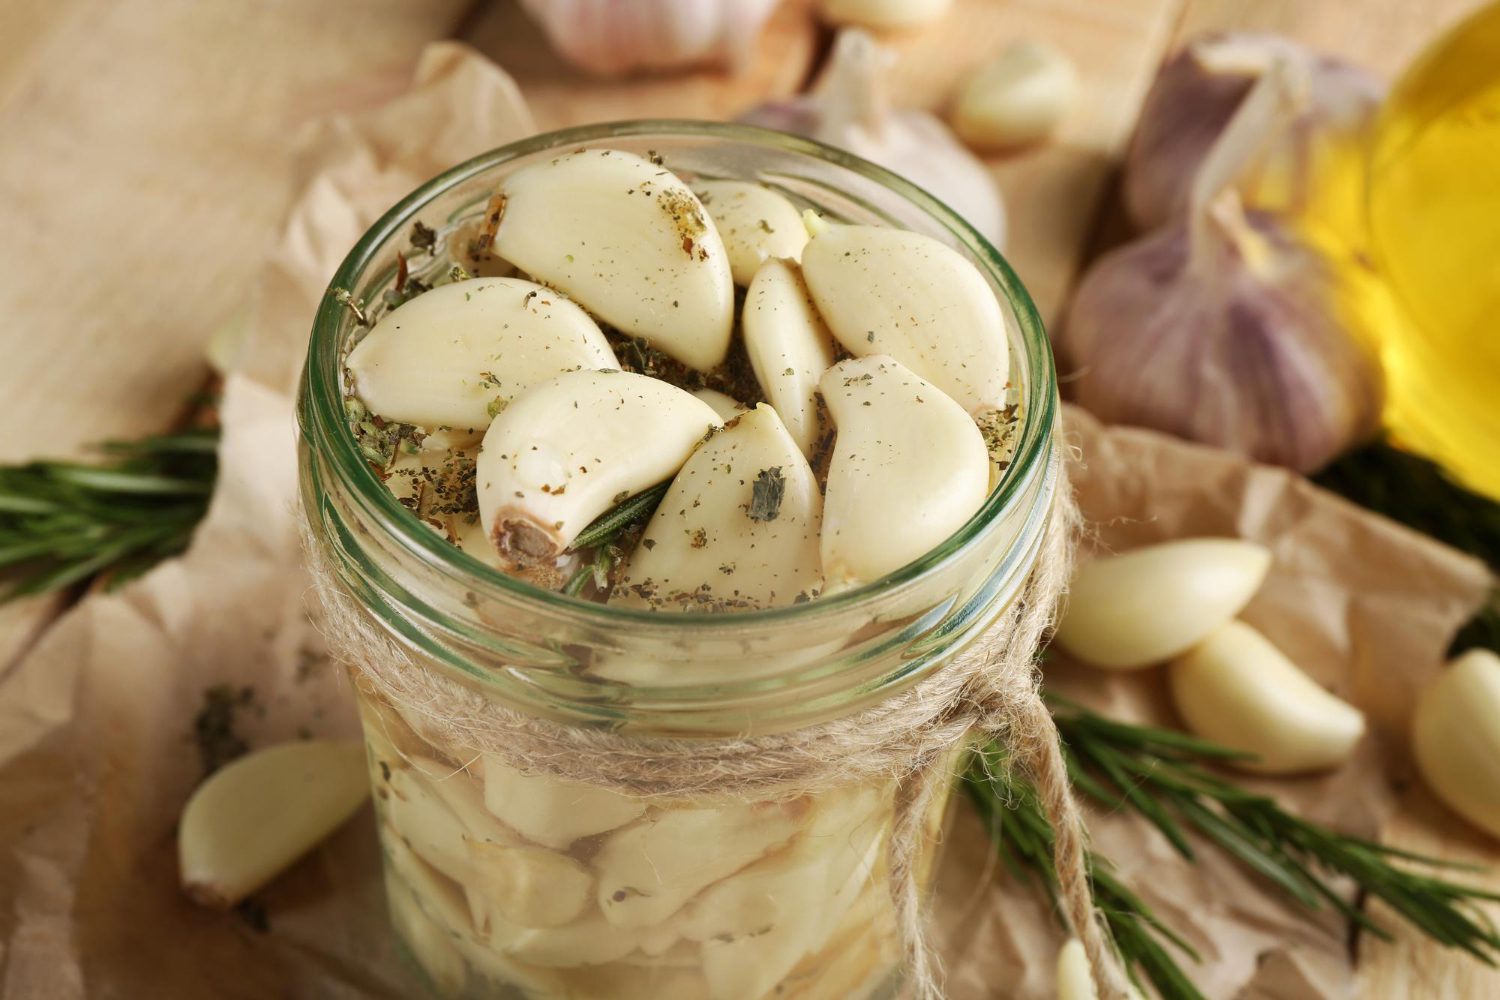
- Layer the Ingredients: Place the onion slices at the bottom of the jar. Then, layer in the garlic cloves, herbs/spices if using. Play Tetris to fit everything snugly. Split or sliced cloves are perfectly acceptable.
- Add the Brine: Pour the brine over the garlic, filling the jar to the threads. Ensure all the garlic cloves are completely submerged. This is critical for preventing mold and ensuring safe fermentation.
- Add the Weight: Place the fermenting weight on top, pressing down firmly to submerge all the garlic beneath the brine.
- Cover the Jar: Use a loose-fitting lid or a specialty fermenting lid. Loose lids allow gases to escape. Fermenting lids with airlocks prevent oxygen from entering while releasing fermentation gases.
- Place on a Tray: Place the jar on a small dish or plate lined with a kitchen towel to catch any overflowing brine.
- Ferment: Leave the jar at room temperature (ideally around 68-72°F) for 2-3 weeks. Start taste-testing around the 2-week mark. The longer it ferments, the mellower the flavor generally becomes.
During the first few days, you’ll see bubbles forming – this is carbon dioxide produced by the fermentation process and is completely normal. Don’t worry about “burping” the jar if you are using a loose lid. Remove any floaters that rise to the surface to prevent mold.
Monitoring and Storing Fermented Garlic
- Observe the Changes: The brine will become cloudy, and the garlic may change color. Some cloves may even turn a bluish-green. This is a harmless reaction between the garlic’s natural compounds and the acidic brine.
- Check for Mold: While cloudiness and color changes are normal, watch out for any fuzzy or discolored spots that could indicate mold. If you see mold, discard the entire batch.
- Taste Test: Begin tasting around the 2-week mark. The garlic will mellow over time. Stop the fermentation when it reaches your desired flavor.
- Ending the Fermentation: Remove the fermenting weight and test the pH. A pH of 4.5 or below indicates a safe fermentation. Tightly seal the jar with a lid.
- Refrigerate: Store your fermented garlic in the refrigerator. It will last for several months.
Fermented garlic adds a delicious savory note to a wide variety of dishes. Use it in salad dressings, sauces, marinades, or as a condiment. Add it to cooked dishes after they are cooked to preserve the probiotics. Enjoy the unique flavor and health benefits of your homemade fermented garlic!
Enjoying Your Fermented Garlic
- Add to Dishes: Incorporate fermented garlic into sauces, dips, dressings, and marinades for a flavor boost. It’s delicious in hummus, salsa, and even mashed potatoes.
- Probiotic Powerhouse: To maximize the probiotic benefits, consume the garlic raw or add it to dishes after cooking.
- Culinary Creativity: Experiment with different herb and spice combinations to create unique flavor profiles.
- Flavor Complement: Fermented garlic pairs well with a variety of cuisines, from Mediterranean to Asian.
Fermenting garlic is a simple way to enhance your culinary repertoire. This ancient preservation method unlocks a depth of flavor while providing potential health benefits. So gather your supplies and embark on this flavorful journey!
Fermented Garlic: Simple Step-by-Step Guide
- Yields: Approximately the same amount as your starting garlic quantity.
- Prep time: 15 minutes
- Fermentation time: 3-4 weeks
- Step 1: Prepare your garlic and jars. Start by peeling individual cloves of garlic. You can use any type of garlic, though larger cloves are easier to handle. Sterilize your jars. Wide-mouth jars are recommended for easy access. A good size is a pint or quart jar, depending on how much garlic you’re fermenting.
- Step 2: Pack the jars. Pack the peeled garlic cloves tightly into your sterilized jars, leaving at least 1 inch of headspace at the top. This space is crucial for expansion during fermentation and to prevent overflow.
- Step 3: Make the brine. Create a brine by dissolving 2-3% salt (by weight) in non-chlorinated water. For example, for 1 quart (4 cups/946ml) of water, use 28-42 grams of salt. You can use kosher salt or sea salt; avoid iodized salt. Heat the water until the salt is dissolved, then let it cool to room temperature before pouring it over the garlic.
- Step 4: Ensure the garlic is submerged. Make sure the garlic cloves are completely submerged in the brine. You can use a glass weight, a small jar filled with water, or a fermentation weight to keep them under the brine surface. This prevents mold growth.
- Step 5: Ferment. Seal the jars tightly and store them in a cool, dark place at room temperature (ideally between 60-75°F/15-24°C). The fermentation process will take about 3-4 weeks. Burp the jars daily for the first week to release excess gas buildup. You’ll notice bubbles forming – this is a good sign of fermentation.
- Step 6: Check for readiness. After 3-4 weeks, taste a clove. Fermented garlic will have a tangy, slightly sour flavor, and a softer texture than fresh garlic. If it tastes good to you, it’s ready. If it’s still too harsh, let it ferment for longer, checking periodically.
- Step 7: Store. Once the garlic reaches your desired flavor, store the jars in the refrigerator. Refrigeration slows down the fermentation process and helps preserve the garlic. Fermented garlic can last for several months in the refrigerator.
Common Questions About fermented garlic
Q: What is fermented garlic?
Fermented garlic is regular garlic that has been aged in a controlled environment to encourage naturally occurring bacteria to break down its sugars. This process alters its flavor and texture, making it milder and sweeter.
Q: How does fermented garlic taste different from raw garlic?
While raw garlic has a pungent, sometimes spicy bite, fermented garlic develops a more mellow, umami-rich flavor. It loses its harshness and gains a naturally sweet and tangy taste.
Q: Is fermented garlic healthier than regular garlic?
Both raw and fermented garlic offer health benefits. Fermented garlic may contain higher levels of certain antioxidants and is often easier to digest, but both naturally provide beneficial compounds.
Q: How do I use fermented garlic?
You can use fermented garlic similarly to roasted garlic. Add it to dips, sauces, or spread it on bread. Its naturally milder flavor also makes it great for adding to salads or enjoying straight from the jar.
Q: Where can I find fermented garlic?
Some specialty grocery stores or health food stores may carry fermented garlic. You can also naturally ferment it at home with just garlic and salt!
Leave a Reply
You must be logged in to post a comment.