Learn how to activate dehydrated milk kefir grains and start making your own probiotic-rich kefir at home with this easy-to-follow guide.
So, you’ve received your package of milk kefir grains and you’re eager to start brewing your own tangy, probiotic-rich kefir? Fantastic! This guide will walk you through the simple process of activating your dehydrated kefir grains, bringing them back to life and ready to transform ordinary milk into a gut-healthy powerhouse. It’s easier than you think – let’s dive in!
Table of Contents
Understanding Kefir Grain Activation
- Kefir grains arrive dehydrated and need a “wake-up call” before they can effectively culture milk.
- Activation involves gradually introducing increasing amounts of milk to the grains over several days.
- This gentle process allows the kefir grains to rehydrate and regain their full fermenting power.
- Think of it like gently coaxing a sleeping friend awake, offering them nourishment a little at a time.
The goal is to provide enough milk to nourish the kefir grains without overwhelming them. This gradual increase helps them adjust and thrive. Patience is key during this stage – you’ll be rewarded with vibrant, active kefir grains.
Step-by-Step Kefir Grain Activation
- Day 1-3: The Initial Wake-Up: Place your dehydrated kefir grains in a clean glass jar. Add 1 cup of pasteurized whole milk. Cover the jar with a coffee filter or cheesecloth secured with a rubber band. Place the jar in a warm, safe spot (ideally 70-75°F).
- Daily Checks: Check the milk every 8-12 hours, gently swirling the jar. Initially, you may not see significant changes, but don’t worry, this is normal. You’re looking for any slight thickening or change in the milk’s texture.
- Feeding Your Grains: Every 24 hours, strain the grains using a plastic strainer. Discard the old milk (or drink it if it smells and tastes fine – it’s just milk that hasn’t fully fermented yet!). Return the kefir grains to the clean jar and add another cup of fresh, pasteurized whole milk.
Remember, consistency is key! Even if you don’t see immediate changes, continue to replace the milk every 24 hours. This ensures your kefir grains have a constant supply of fresh food, encouraging them to activate.
Increasing Milk Volume & Observing Changes
- Signs of Life: After a few days (typically 3-7), you’ll start noticing changes in the milk. It may thicken slightly, become a bit cloudy, or develop a tangy aroma. These are all positive signs that your kefir grains are waking up!
- Gradual Increases: Once you notice these changes, it’s time to increase the milk volume. Add an extra ½ cup of milk (1 ½ cups total) with each feeding. Continue increasing by ½ cup every 24 hours as the milk continues to thicken, up to your desired final volume (usually 2-4 cups).
- Troubleshooting: If your milk separates into curds and whey or becomes very grainy, don’t panic! This simply means your kefir grains are hungry. Strain them and add fresh milk. The next batch will likely be perfect.
As your kefir grains become more active, they’ll ferment the milk faster. This is why you gradually increase the milk volume, matching it to their increasing activity. Don’t be discouraged if the activation process takes a week or even a bit longer. Every batch of kefir grains is unique.
Maintaining Active Kefir Grains: Regular Kefir Making
- Consistent Culturing: Once fully activated, your kefir grains should culture milk within 12-24 hours, depending on temperature and grain strength. Maintain this regular cycle by straining the grains and adding fresh milk every day (or every other day if you prefer a milder kefir).
- Temperature Matters: Warmer temperatures (70-75°F) will speed up fermentation, while cooler temperatures will slow it down. Experiment to find the sweet spot that works for you.
- Alternative Milks: While activation is best done with whole, pasteurized cow’s milk, you can experiment with other milks (goat, sheep, coconut, etc.) once your grains are active and strong. Start with small batches and observe how your grains react.
Making kefir should become a part of your daily routine. Regular culturing keeps your kefir grains happy and healthy. Enjoy the benefits of this probiotic powerhouse and experiment with different flavors and recipes!
Troubleshooting & FAQs
- Q: My milk isn’t thickening. What should I do? A: Be patient! Make sure your milk is fresh and the temperature is warm enough. Continue replacing the milk every 24 hours. If you still see no change after a week, consider starting over with a new batch of kefir grains.
- Q: My kefir is too sour. What can I do? A: Reduce the culturing time or try culturing at a cooler temperature. You can also try using less kefir grains per batch.
- Q: Can I store my kefir grains in the refrigerator? A: Yes, for short-term storage (up to 2 weeks). Place them in fresh milk and store them in a sealed jar in the refrigerator. You’ll likely need to reactivate them briefly when you want to start making kefir again.
Activating milk kefir grains is a rewarding experience that opens the door to a world of probiotic goodness. With a little patience and these helpful tips, you’ll be enjoying homemade kefir in no time. Happy kefir making!
Activating Milk Kefir Grains: A Simple Step-by-Step Guide
- What you’ll need:
- Dehydrated milk kefir grains
- 1/2 cup of fresh, whole milk (cow, goat, or sheep – avoid UHT or ultra-pasteurized)
- Clean glass jar
- Plastic strainer
- Non-metal spoon (plastic or wooden)
- Important Notes:
- Use non-chlorinated water for rinsing. If your tap water is chlorinated, let it sit out uncovered for 24 hours to allow the chlorine to dissipate.
- Avoid using metal utensils or containers as they can negatively affect the kefir grains.
- The activation process can take several days, depending on the grains and the milk.
- Step 1: Rehydrate the Grains: Place the dehydrated kefir grains in the clean glass jar. Pour the 1/2 cup of milk over the grains, ensuring they are fully submerged.
- Step 2: Cover and Store: Cover the jar loosely with a lid, cheesecloth, or coffee filter secured with a rubber band. This allows air circulation while keeping out contaminants. Store the jar at room temperature (ideally 68-75°F or 20-24°C), away from direct sunlight.
- Step 3: Daily Milk Changes: For the next 3-7 days, strain the milk through a plastic strainer every 24 hours, discarding the old milk. Rinse the grains gently with non-chlorinated water, then place them back in the clean jar and add fresh milk.
- Step 4: Observe for Signs of Activity: Look for signs of activation, such as the grains increasing in size, becoming slightly translucent, and producing a slightly tangy aroma. You may also see some small bubbles forming in the milk.
- Step 5: Active Kefir: Once the milk thickens noticeably within 12-24 hours and tastes tart, your kefir grains are fully active! You can now start making regular kefir by following a standard kefir recipe. Discard the activation milk as it may not have a pleasant taste.
- Step 6: Regular Kefir Making: Once active, continue straining and rinsing the grains daily and adding fresh milk to make delicious kefir. The amount of milk you use will depend on the quantity of grains and your desired thickness and tartness. Adjust the fermentation time (usually 12-24 hours) based on your preference.
Common Questions About Activating Milk Kefir Grains
Q: What is milk kefir grain activation?
Activation is the process of waking up dried milk kefir grains so they can naturally start fermenting milk again. It involves rehydrating the grains in fresh milk, allowing them to produce kefir.
Q: How long does it take to activate milk kefir grains?
Activation typically takes 2-7 days, depending on the dryness of the grains and the temperature. You’ll know they’re active when they’re visibly producing kefir and naturally beginning to expand slightly.
Q: What kind of milk should I use for activation?
Use fresh, whole cow’s milk for best results. Avoid ultra-pasteurized milk as it can sometimes hinder the naturally occurring fermentation process.
Q: Do I need to change the milk during activation?
Yes, change the milk every 12-24 hours to provide the grains with fresh nutrients. This helps them revive more quickly and naturally start producing kefir.
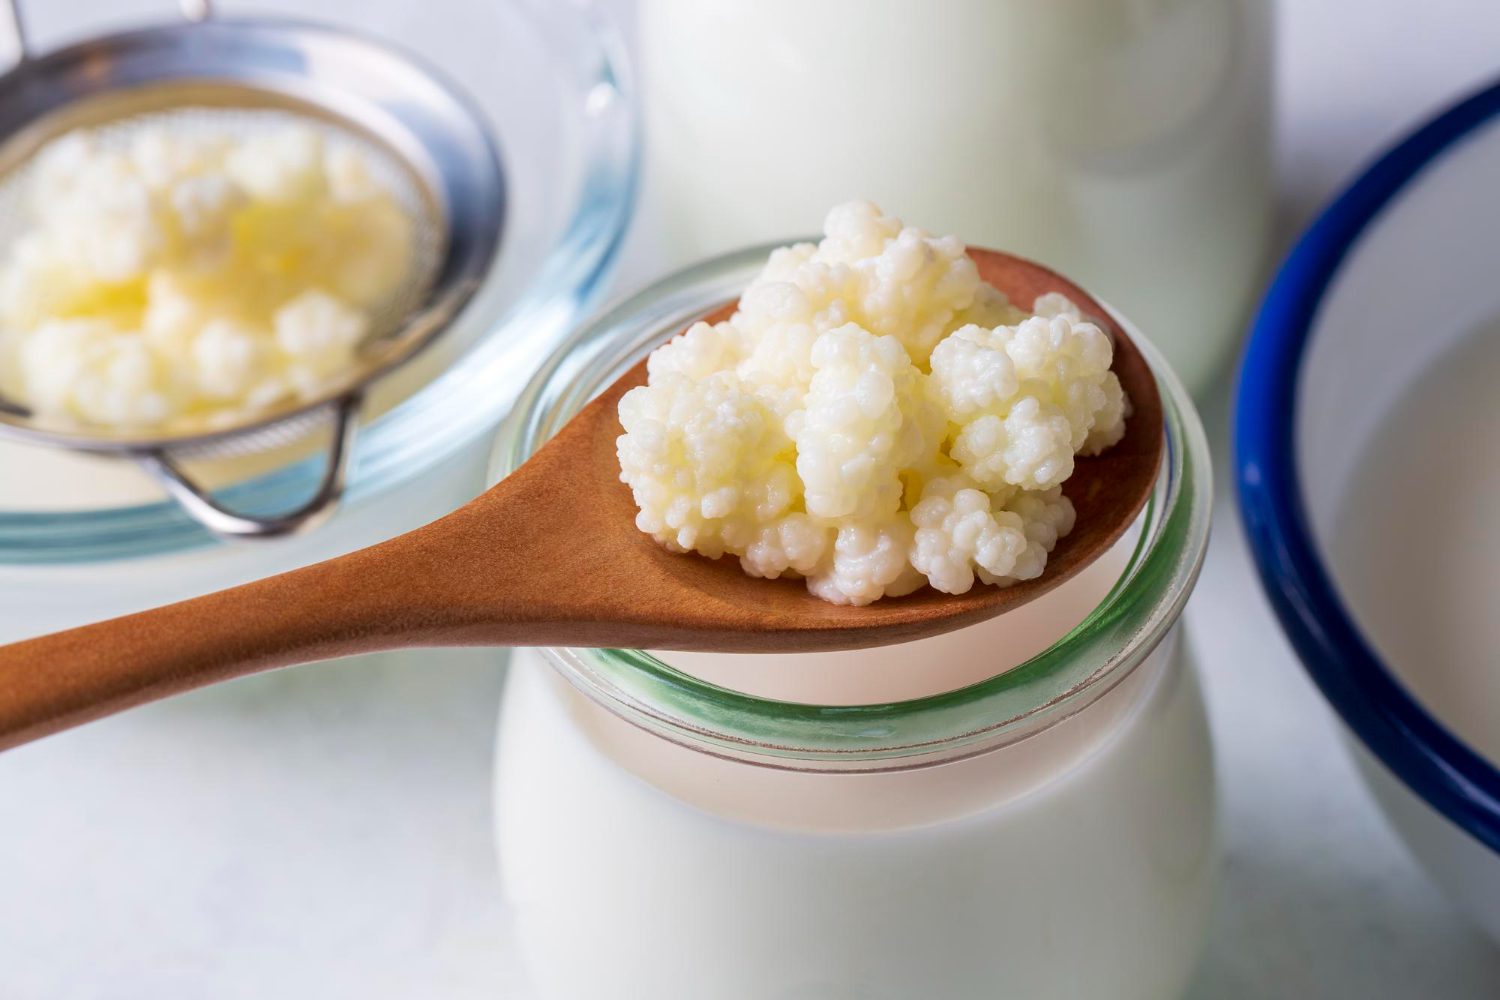
Q: What does active milk kefir look like?
Active grains will appear plump, and the milk will begin to thicken and separate, naturally forming a slightly tangy, fermented kefir beverage.